
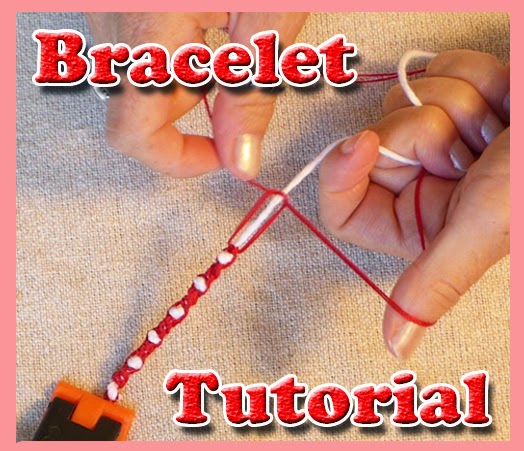
Here is an easy way to make a friendship bracelet to look like it has beads but it really doesn't. I used knots to create the look of having beads. It is a more cost effective way to make cool looking friendship bracelets.
Here is what you will need:

*Peaches and Cream cotton string
*Crochet thread
*Measuring tape
*Scissors
*Clip board or clamp
*Craft glue
Here is a video that will show you step by step how to do this.
Lets get started...

I measured my center string, Peaches and Cream (white), to about 42 inches. You can experiment with the sizes of your string. This is about the size I usually use though. It turns out to be long but it is better to be too long than to come up short. I measured my crochet string (red) to be 4 times as long as my white center string. I cut the loop on the end where I started measuring the crochet string. This will give me 2 long red strings and one shorter white string. (You can use any colors you like, it just makes it easier to explain here to say the colors.. hehe)
We will start by making our clasp.
I fold my red strings in half and put my white string at the center of the red strings where it is folded like the picture above. I will then tie the white string to the center of the red strings with a simple knot. Then I put the knot under the clamp. I put 2 red strings and the white string toward the front of the clamp like this...

I put the other two red strings toward the back of the clamp.
Now I braid it until it is the size of a small loop. That will be my clasp.

I tie a knot at the bottom of the loop. This will tie all the strings together. (Where I am pointing my finger in the picture above)

After I tie the knot, I put the clasp under the clamp and put two red strings on the right, the white string in the center, and two red strings on the left. (as shown in the picture above)

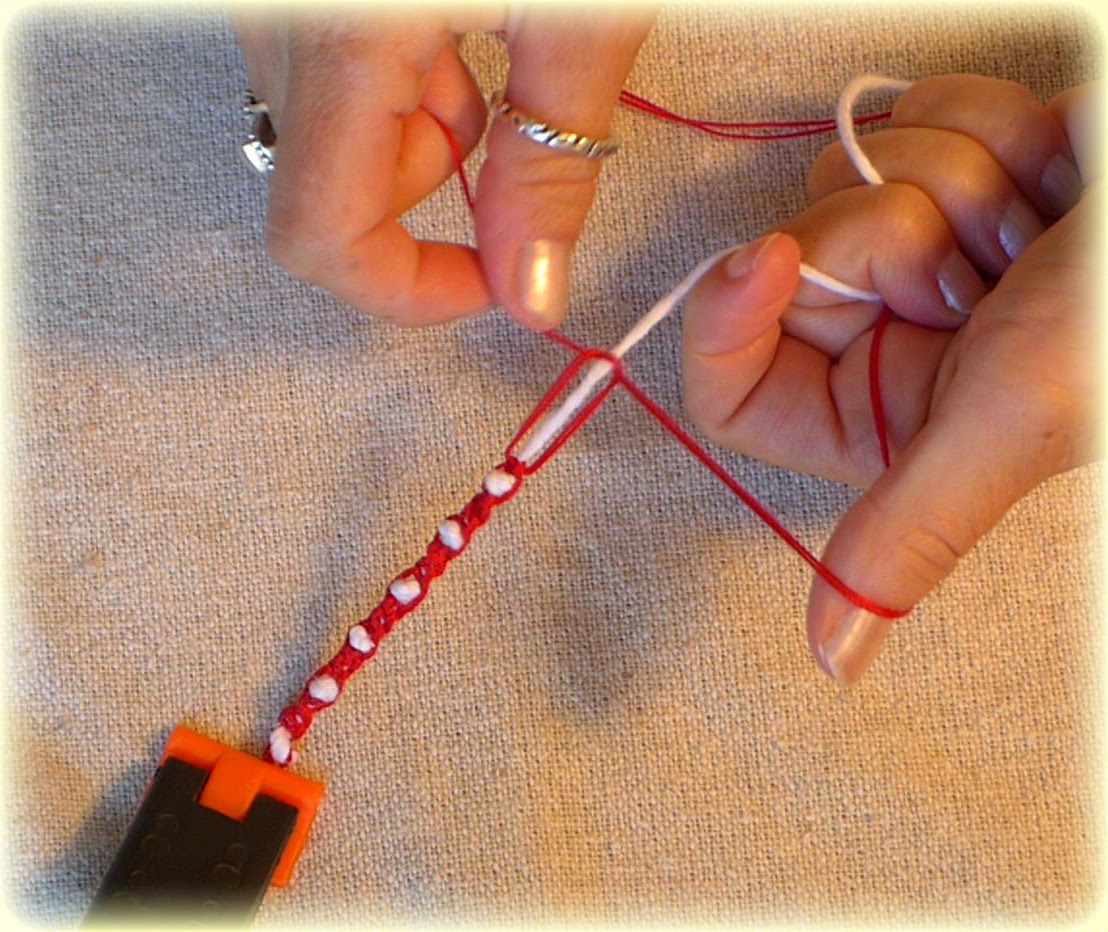
Now I take my right red string and bring it under the center white string and leave a loop on the right side. (above picture)

I take my left red string and put it under my right red string. (above picture)

After putting the left string under the right, I bring the left string over the center white string and put pull it through the loop on the right. Put left string where my finger is pointing. (above picture)

Now I pull the strings to make my first knot.
Lets do the same exact steps for the left side.

I bring my left red string under my center white string and bring my right red string under the left red string and put the right string into the loop on the left. (above)

Then I pull the knot tight. That is knot number two.
Now I do knot number 3 by staring on the right.
And knot number 4 by starting on the left.

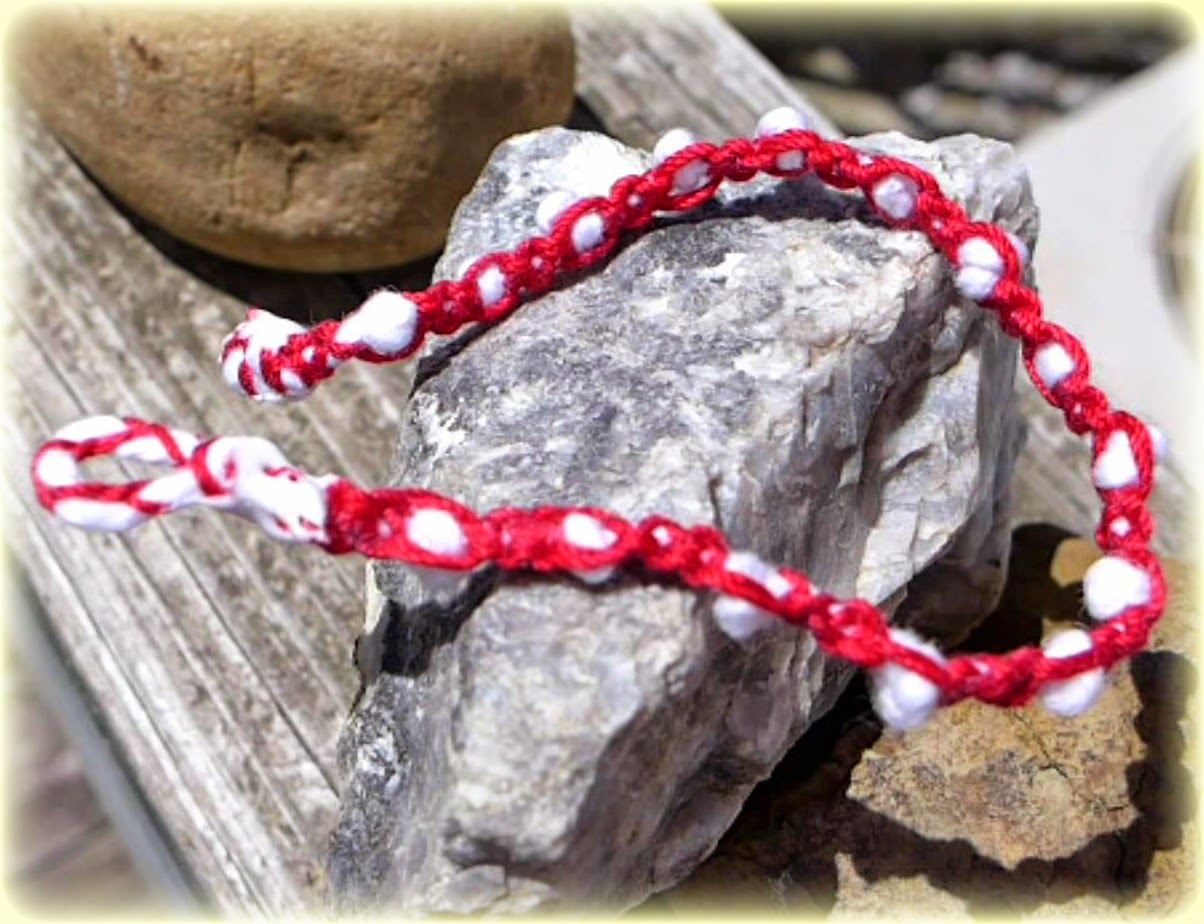
Now I tie 2 simple knots up at the top of the white string. Tie the second knot on top of the first knot. This is what will give it the look of a white bead. :)
I continue these knots all the way down until I am sure that it fits around my wrist. 4 macrame knots (red string) and then 2 simple knots (white string).

I wrap it around my wrist to be sure.

When I know that it will fit, I tie knots in the end of my bracelet until I know that it will fit nicely into the clasp. Then I will cut the extra strings off of the end.

I use my craft glue to be sure that my knots won't come untied.
The last thing that I do is set my bracelet in the sun to dry.
For more pointers and tips... check out the video:

We hope this tutorial will inspire you to give this really cool craft a try. Please take time to visit our YouTube channel. Thank you so much for visiting our blog. :)
Subscribe to our Youtube channel and join us on our facebook page. We would love to have you join us.
Have a beautiful day!!
EASYMEWORLD YOUTUBE CHANNEL:
https://www.youtube.com/user/EasyMeWorld
EASYMEWORLD FACEBOOK:
https://www.facebook.com/EasyMeWorld
https://www.youtube.com/user/EasyMeWorld
EASYMEWORLD FACEBOOK:
https://www.facebook.com/EasyMeWorld
No comments:
Post a Comment