
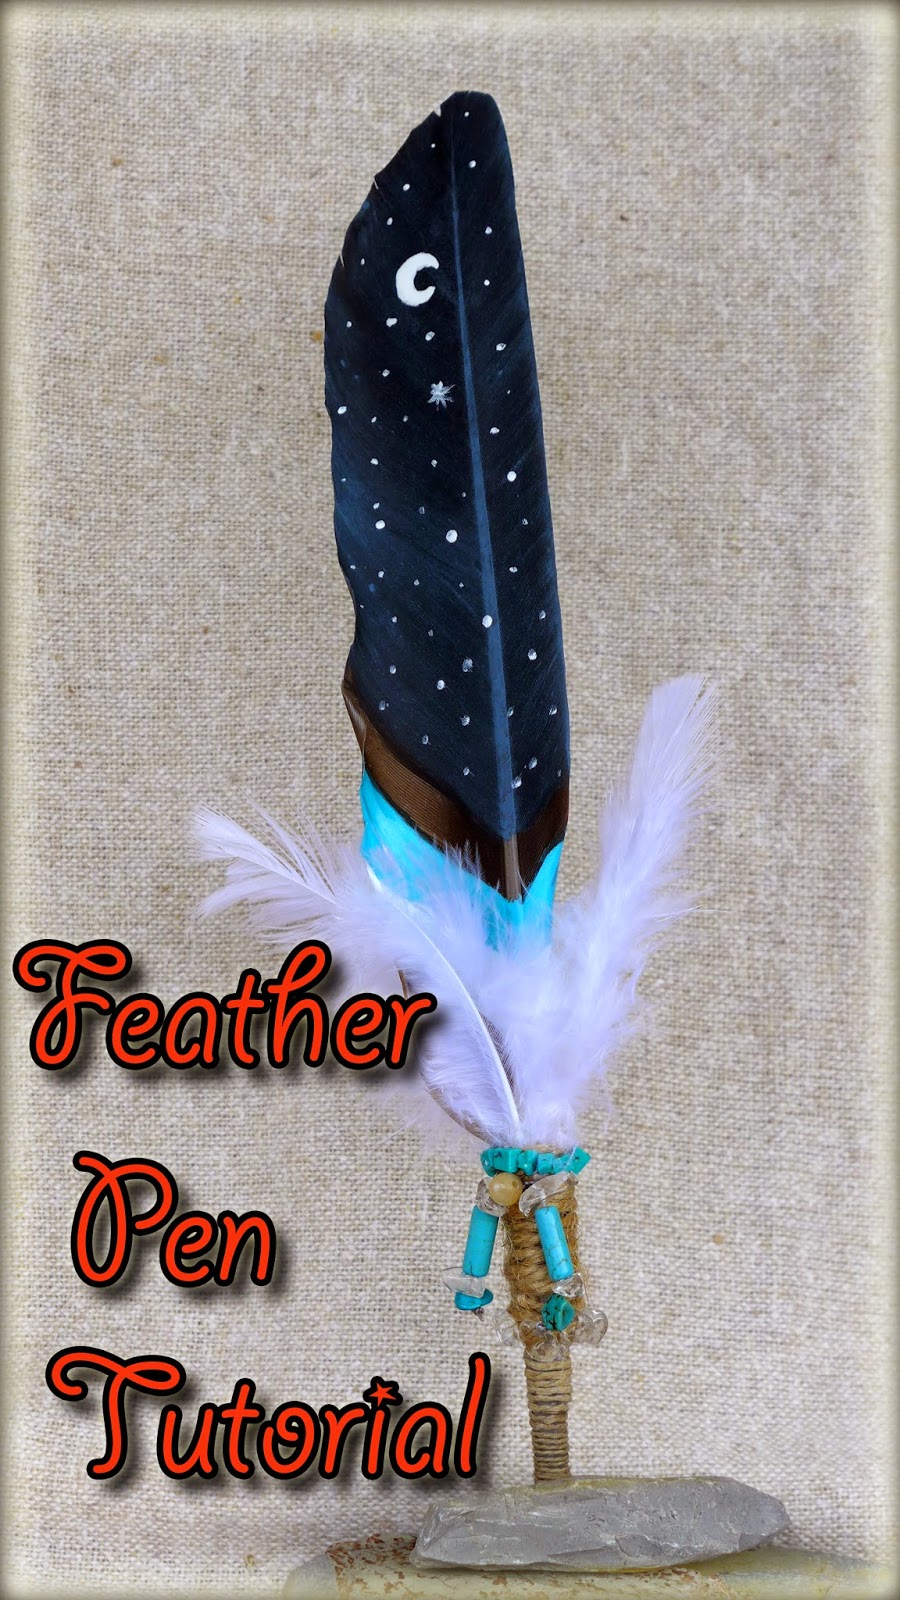
These feather pens are easy and fun to make. They will make great gifts and you can be super creative with them. I made 7 different pen styles to give you examples to go buy in order to get you started so that you can come up with your own ideas.
I will be giving my feather pens as gifts with a blank journal to encourage friends and family to write. I know they will cherish this beautifully handmade gift. Give this wonderful craft a try. You will be amazed at all the ideas that you can come up with.
In this blog I will explain to you the basic way to make a feather pen but if you want more detail on how to do these beautiful pens, check out our video tutorial:
The video will show each of my 7 feather pens in detail. I will explain to you which gemstones I used for each pen and I will show you the designs that I painted on them. They are pretty amazing and I had a hard time picking a favorite. :)
~~~~~~~~~~
LETS GET STARTED

The first thing that you will need is feathers. You can use store bought feathers but I used mostly goose feathers that I found and collected. I carefully chose the 7 feathers that I wanted to use for this project out of my collection.

Then I used dish soap in warm water to wash my feathers by swishing them in the water gently. Then I rinsed them off and set them on a paper towel to dry. You may have to carefully straiten your feathers so that they dry nice and smooth.


After the feathers are dry, I used acrylic paint to paint designs on them. They were a joy to paint... And so easy. Simply use the paint brushes that you have on hand to paint your feathers. You do not need to buy special brushes. :)

I used Bic pens to make my feathers into pens. They are easy to get apart and I had an extra pack of them in my office to use for this project.

Some feathers have large quills and some have small quills. You can use both sizes to make your feather pen. Don't worry, you wont be able to see the quill when we are done. We will be decorating it. :)

If you have a small quill on your feather than you will need to use the whole pen. You will need to remove the end cap on the pen first. Simply take the ink cartridge out of the pen and then use something that is long and thin to push the cap off of the end of the pen through the center of the pen shell. I used a BBQ skewer to push the cap off of mine. It worked perfectly.

After the cap is removed, you can put the quill of your feather into the top of the pen like this.


I used E6000 adhesive to decorate the outside of the pen by glueing hemp string, twine or crochet string to the outside of the pen.

I simply wrapped the string down the whole length of the pen. It not only decorates the pen to give it style but it gives it a wonderful grip to make writing with the pen nice.

If the quill on your feather is large, you can easily cut the very tip of the feather off and insert the pen into the center of the quill.

If your ink cartridge is a bit too long to fit inside of the quill, simply cut it to the length that you need it.

The ink cartridge fits perfectly!

Now all you need to do is use beads, feathers or any kind of embellishment to make your feather unique. The possibilities are endless and the styles of your feathers can be so different. Use your imagination to make each one different.

I used wood beads, gemstones and feathers to make this pen stylish. I used a Blue Heron feather for this pen.

I simply painted tree branches and feathers on this pen and used leaf embellishments and jasper beads to make this pen look like nature.

I used turquoise and amethyst beads to enhance this pen. I also painted designs on it to make it unique. On the back of this pen I used paw print designs.

Fun stuff!!
Get a better view of each of my pens in the video tutorial.
Thank you so much for stopping by our blog.
Subscribe to our Youtube channel and join us on our facebook page. We would love to have you join us.
Have a beautiful day!!
EASYMEWORLD YOUTUBE CHANNEL:
https://www.youtube.com/user/EasyMeWorld
EASYMEWORLD FACEBOOK:
https://www.facebook.com/EasyMeWorld
https://www.youtube.com/user/EasyMeWorld
EASYMEWORLD FACEBOOK:
https://www.facebook.com/EasyMeWorld
No comments:
Post a Comment